
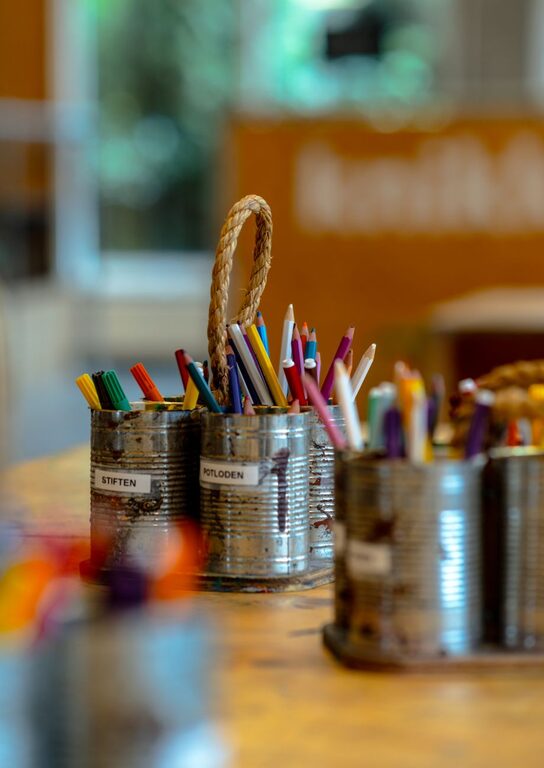
Children create a lot of artwork. One week may bring home paintings, drawings, collages, clay projects, and paper crafts. Each piece can feel special, but keeping everything can quickly lead to crowded shelves, overflowing folders, and piles on the kitchen table.
The goal is not to save every piece. Instead, create a simple system that makes it easy to enjoy the artwork, protect meaningful projects, and decide what to keep. With a few regular habits and the right storage tools, your child’s creativity can stay organized without becoming another large household chore.
Start With One Collection Spot
The easiest way to prevent artwork from spreading throughout the house is to choose one place for new creations. This could be a basket near the entryway, a large folder in a home office, or a shelf in your child’s room.
Label the spot clearly so everyone knows where artwork belongs. A simple label such as “New Art” or “Artwork to Sort” is enough.
A collection spot helps in two ways:
– It keeps loose papers from piling up in different rooms.
– It gives you a regular place to review artwork.
– It teaches children to put their projects away.
– It makes sorting easier because everything is in one location.
Choose a container that is large enough for your family’s needs but not so large that it becomes difficult to manage. A deep basket may work well for three-dimensional projects, while a portable file box is useful for flat drawings and paintings.
Create a Simple Sorting Routine
Set aside a few minutes each week or month to sort the artwork. A consistent routine is more useful than waiting until the collection becomes overwhelming.
Create three basic categories:
- **Keep:** Special pieces you want to store long term.
- **Display:** Artwork that deserves a place in the home right now.
- **Recycle or reuse:** Projects that can be released after they have been enjoyed.
You can add a fourth category for items that need a decision from your child. This is helpful when they have strong opinions about what should be saved.
Keep the process relaxed. Sorting should not feel like a judgment of your child’s creativity. Every project has value, even if it does not stay in your home forever.
Give Favorite Artwork a Display Space
A rotating display area allows children to see their work without requiring you to keep every piece on the wall. Try using a few easy display options:
– Clipboards mounted at child-friendly height
– A wire with clothespins
– Magnetic frames
– A bulletin board
– A picture ledge
– A refrigerator section reserved for artwork
Choose a display area that is easy to update. If changing the artwork requires tools or a complicated process, the display may stay unchanged for too long.
Consider setting a limit, such as five displayed pieces per child. When a new project is selected, your child can choose which older piece should be stored, photographed, or recycled. This creates a natural rotation and helps children practice making decisions.
Store Keepsakes by Year or School Grade
For artwork you want to keep, use a labeled folder, portfolio, or storage box for each child. Organizing by year, age, or school grade makes it easier to look back later.
Useful labels may include:
– Child’s name
– Year
– Age or grade
– Special events or themes
Large artwork may not fit in a standard folder, so consider using an art portfolio, an under-bed container, or a flat storage box. Store paper projects away from damp areas and direct sunlight to help prevent damage.
Avoid packing artwork too tightly. Papers can bend, tear, or stick together when containers are overfilled. If a box is full, it may be time to review the contents and choose a smaller collection of favorites.
Take Photos of Large or Fragile Projects
Some artwork is too large, delicate, or bulky to store easily. Instead of keeping every three-dimensional project, take a clear photo before letting it go.
Photograph the artwork in natural light, if possible. You can also include your child holding the project to capture its size and personality. Save the images in a digital folder labeled by year or child.
For easier browsing, create folders such as:
– Preschool art
– Kindergarten art
– Holiday projects
– Favorite drawings
– Three dimensional projects
You may also create a yearly photo book or slideshow. This allows your family to enjoy a large collection without using much physical storage space.
Add Notes to Important Pieces
A drawing may seem easy to remember today, but details can become unclear over time. Add a short note to important artwork with information such as:
– Your child’s name
– Date or age
– Title of the project
– A short quote from your child
– The event or class where it was created
You do not need to write information on the artwork itself. Use a label, sticky note, or digital file name instead. For especially meaningful projects, write down what your child said about the piece. These small details often become as valuable as the artwork.
Involve Children in the Process
Children are more likely to follow an organization system when they help create it. Ask them where they would like to display their artwork and what type of container feels easiest to use.
During sorting, give simple choices instead of asking broad questions. For example:
– Which two paintings should we display?
– Would you like to keep this in your folder or take a photo?
– Should we give this card to someone?
– Which project is your favorite from this month?
Keep in mind that children may value different things than adults do. A simple scribble, a funny character, or a handmade card may be more meaningful to them than a polished project. Listen to their choices while still setting reasonable storage limits.
Use Artwork in Everyday Life
Some projects can serve a new purpose instead of sitting in storage. Turn artwork into useful or thoughtful items, such as:
– Greeting cards
– Gift tags
– Bookmarks
– Wrapping paper
– Decorations
– Notebook covers
– Place cards for family meals
You can also display children’s drawings in frames, use them as labels for storage bins, or create a collage from smaller pieces. Repurposing artwork gives it a second life and helps reduce clutter.
Protect Artwork From Common Problems
A few basic storage habits can help artwork last longer:
– Keep paper in a cool, dry place.
– Store pieces flat when possible.
– Separate delicate items with plain paper.
– Avoid placing artwork in direct sunlight.
– Do not use damp or damaged containers.
– Keep glue, paint, and clay projects away from important papers.
– Check stored artwork once or twice a year.
If an item has wet paint, glitter, or other loose materials, allow it to dry fully before placing it in a folder or box. This prevents sticking and keeps neighboring pieces cleaner.
Make the System Easy to Maintain
The best organization system is one your family can keep using. Avoid creating too many categories, containers, or rules. A single collection basket, a display area, and one keepsake box per child may be all you need.
Review the system occasionally. If artwork continues to gather in another room, move the collection spot or add a smaller container where the pile usually begins. If children forget how the system works, add picture labels or make the steps part of a weekly cleanup routine.
Keeping kids’ art organized is less about creating a perfect archive and more about making space for creativity. With regular sorting, simple storage, and a rotating display, you can preserve the pieces that matter most while keeping your home manageable.
